
Kodi is one of the tools we’ve mentioned that allows you to turn any device into a complete multimedia center. It’s a very versatile application that lets you view files stored locally, as well as stream content. Highly modular, let’s explore how you can get the most out of it.
What is Kodi?

First, let’s discuss the origins of Kodi, a platform that draws from an application known as XBMC (Xbox Media Center), which was renamed Kodi in 2014. However, Kodi made its debut in 2003, thanks to a group of developers who created a royalty-free, open-source tool (under the GNU/GPL license). This means that anyone can access its source code and modify it to suit their needs.
Kodi is an open-source development, as we have mentioned, but it is also multi-platform, meaning you can use it on TVs, computers, phones, tablets, and more. Additionally, it works across various operating systems, ranging from Windows to macOS, as well as Android and Linux.
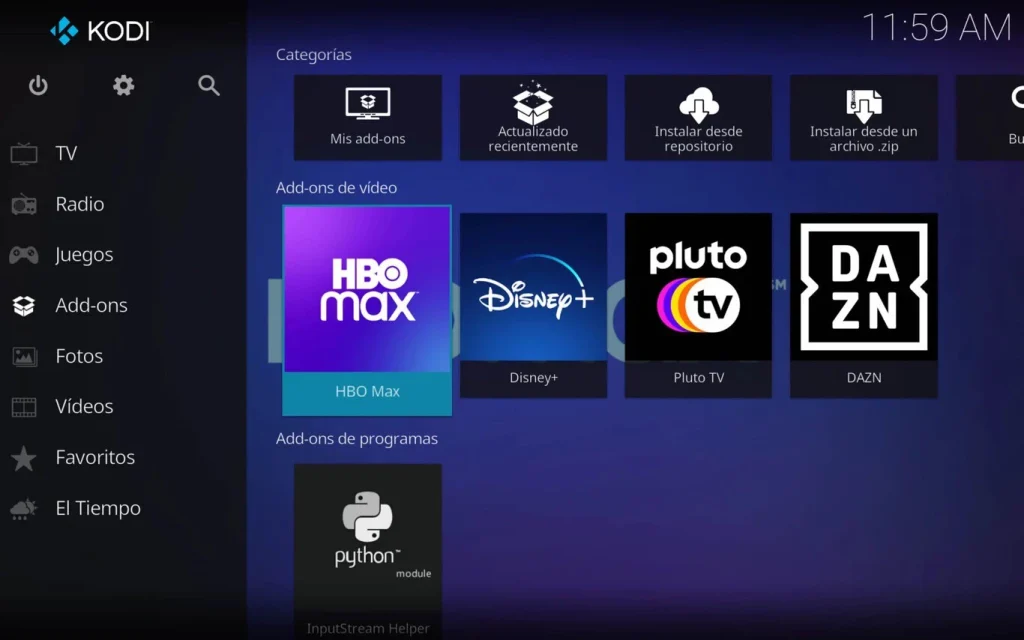
It is a powerful tool that allows you to do almost anything to turn your TV or other devices into a complete multimedia center. Thus, we see the platform’s potential to be used on nearly any device. Furthermore, we can use this application to access almost any platform that streams content, allowing us to enjoy HBO Max, Disney+, Filmin, DAZN, Netflix, Pluto TV, SkyShowtime, Orange TV, and even to watch digital terrestrial television (TDT), record programs, play games by installing an emulator, or even access Plex.
In addition to all of the above, Kodi can be used to play all kinds of multimedia content, whether it be videos, movies, or audio. Moreover, Kodi is capable of handling almost any format, being compatible with the most popular standards.
All content we can play can be either local or streaming. We’ve already explored how to use Kodi to watch HBO Max, Disney+, DAZN, Netflix, Pluto TV, and even how to view digital terrestrial television or record programs. It can even be used for gaming by installing an emulator or to access Plex.
Furthermore, Kodi is a highly customizable platform. If you don’t like the default appearance, you can easily change the aesthetics by adding a skin add-on. In fact, we’ve already looked at some of the most popular ones.
Getting Started with Kodi
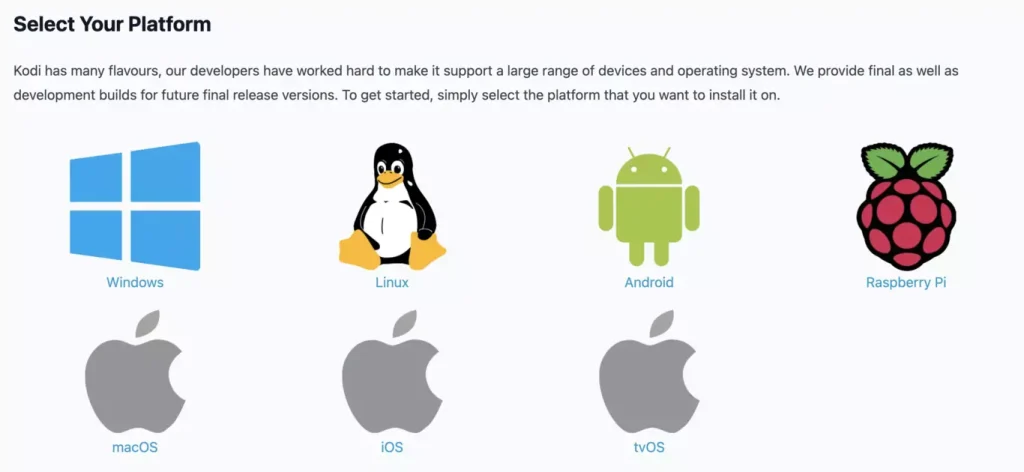
To start using Kodi, simply visit its official website and select the version compatible with your operating system, or alternatively, download it from your platform’s app store. If you choose to download from the website, you’ll need to choose between the Release and Nightly versions. Release versions are polished and stable, while Nightly versions are development “betas”.
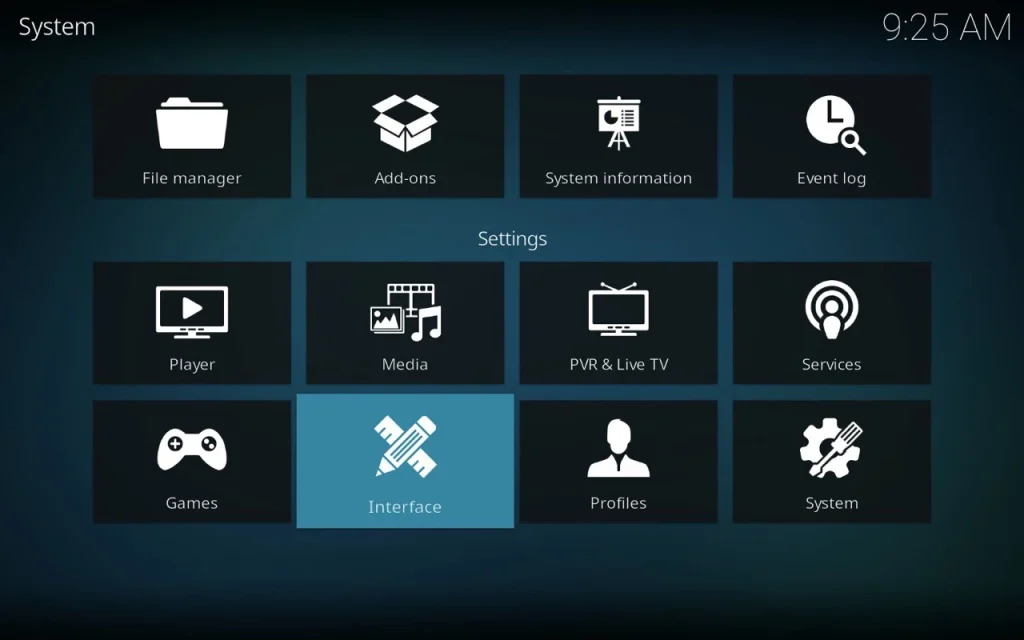
After downloading, just click to install Kodi on your device. The only initial setup you need to do is changing the language, as it’s set to English by default. To do this, click on the gear icon in the top left corner, then look for the “Settings” section, followed by “Interface”.
This explanation provides a concise guide on how to:
- Download Kodi
- Choose between stable and beta versions
- Install the software
- Perform initial setup, focusing on changing the language
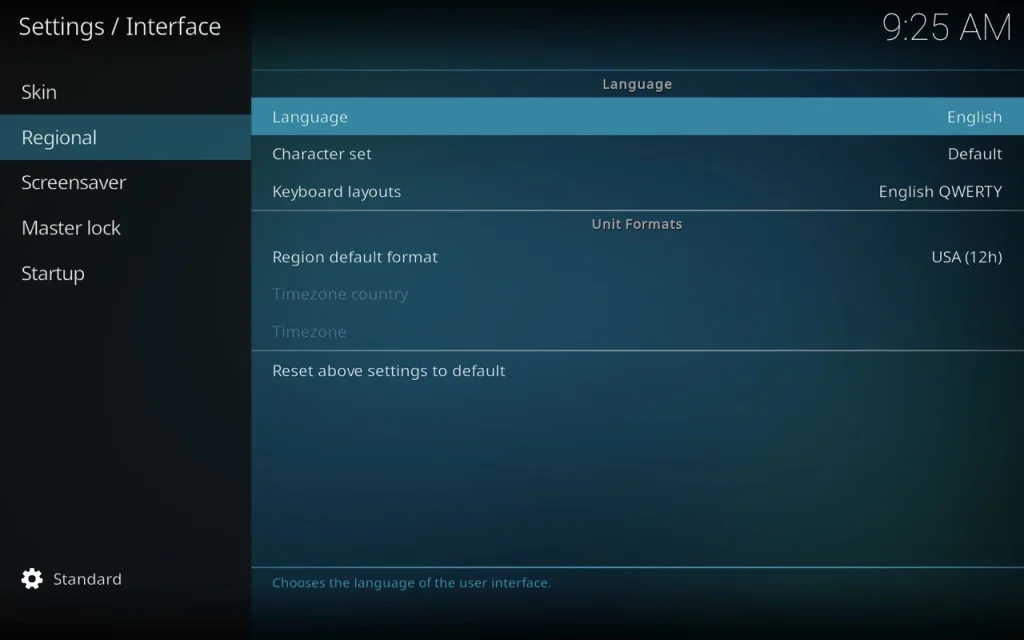
Next, click on “Regional” and then “Language”. Find “Spanish” to change the interface language. You can also modify the default language used for audio and subtitles.
To provide a more comprehensive guide for English-speaking users, I’ll expand on this:
After entering the “Interface” settings:
- Click on “Regional”
- Select “Language”
- Choose your preferred language for the interface (e.g., English, Spanish, etc.)
- Optionally, you can also set your preferred languages for:
- Audio tracks
- Subtitles
This allows you to customize Kodi’s language settings to best suit your needs, both for the user interface and for media playback preferences.
Another important step is to tell Kodi where to find the files you want to play. Again, click on the gear icon in the bottom left corner. From the menus that appear, choose and click on “Media”. Then, in the left column, select “Library”.
At this point, you need to choose a content type, for example “Videos”, and then tell Kodi which folder to search for video files.
To expand on this for clarity:
- Click the gear icon (Settings) in the bottom left corner
- Select “Media” from the options
- In the left column, click on “Library”
- Choose a content type (e.g., “Videos”, “Music”, “Pictures”)
- Add a source:
- Click “Add videos…” (or the relevant media type)
- Choose “Browse” to locate the folder containing your media files
- Select the appropriate folder
- Name your media source
- Choose the content type (Movies, TV shows, etc.) if prompted
- Kodi will then scan the selected folder and add the media to your library
This process allows Kodi to organize and display your media files properly within its interface. You can repeat these steps for different types of media (music, pictures, etc.) and for multiple folders if your media is spread across different locations on your device.
1 Comment
What are the Best IPTV Apps for a Samsung TV? - IPTVWeb
September 25, 2024[…] that isn’t available in the official app store. This means you can easily download apps like Kodi, Plex, and others aimed at enhancing your multimedia […]